
.jpg)
FINDING THE RIGHT PROP
- From the ADD menu (Pencil in top bar), select PROP. The options are:
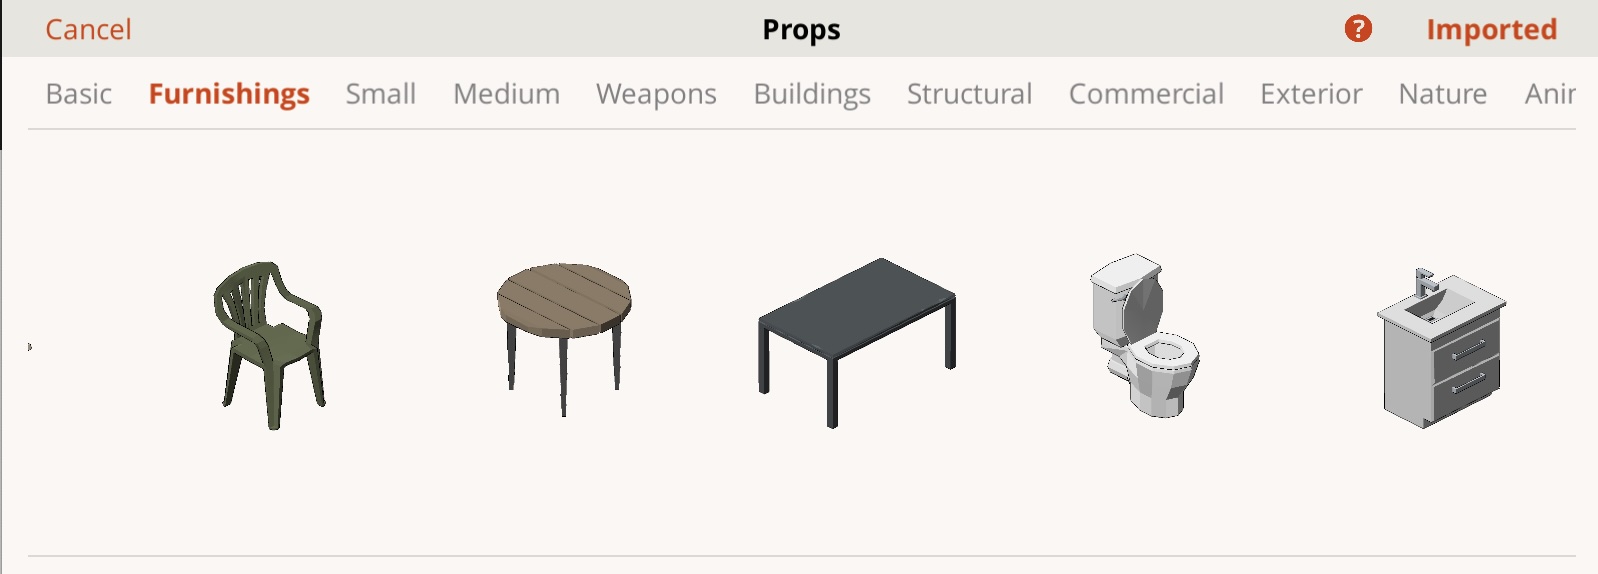
- NEW PROP. Choose from the large selection of common objects included with Previs Pro.
- CREATE CUSTOM. Use the built in AI to generate a rough prop based on a text description. To read more, tap here.
- YOUR PROP LIBRARY. Select from props already in your project.
- From the ADD menu (Pencil in top bar), select IMPORT -> 3D PROP OR SET.
HOW TO ADD PROPS


Note: When you want to importing a prop from outside Previs Pro you can also use the icons in the upper right of Your Prop Library:
