

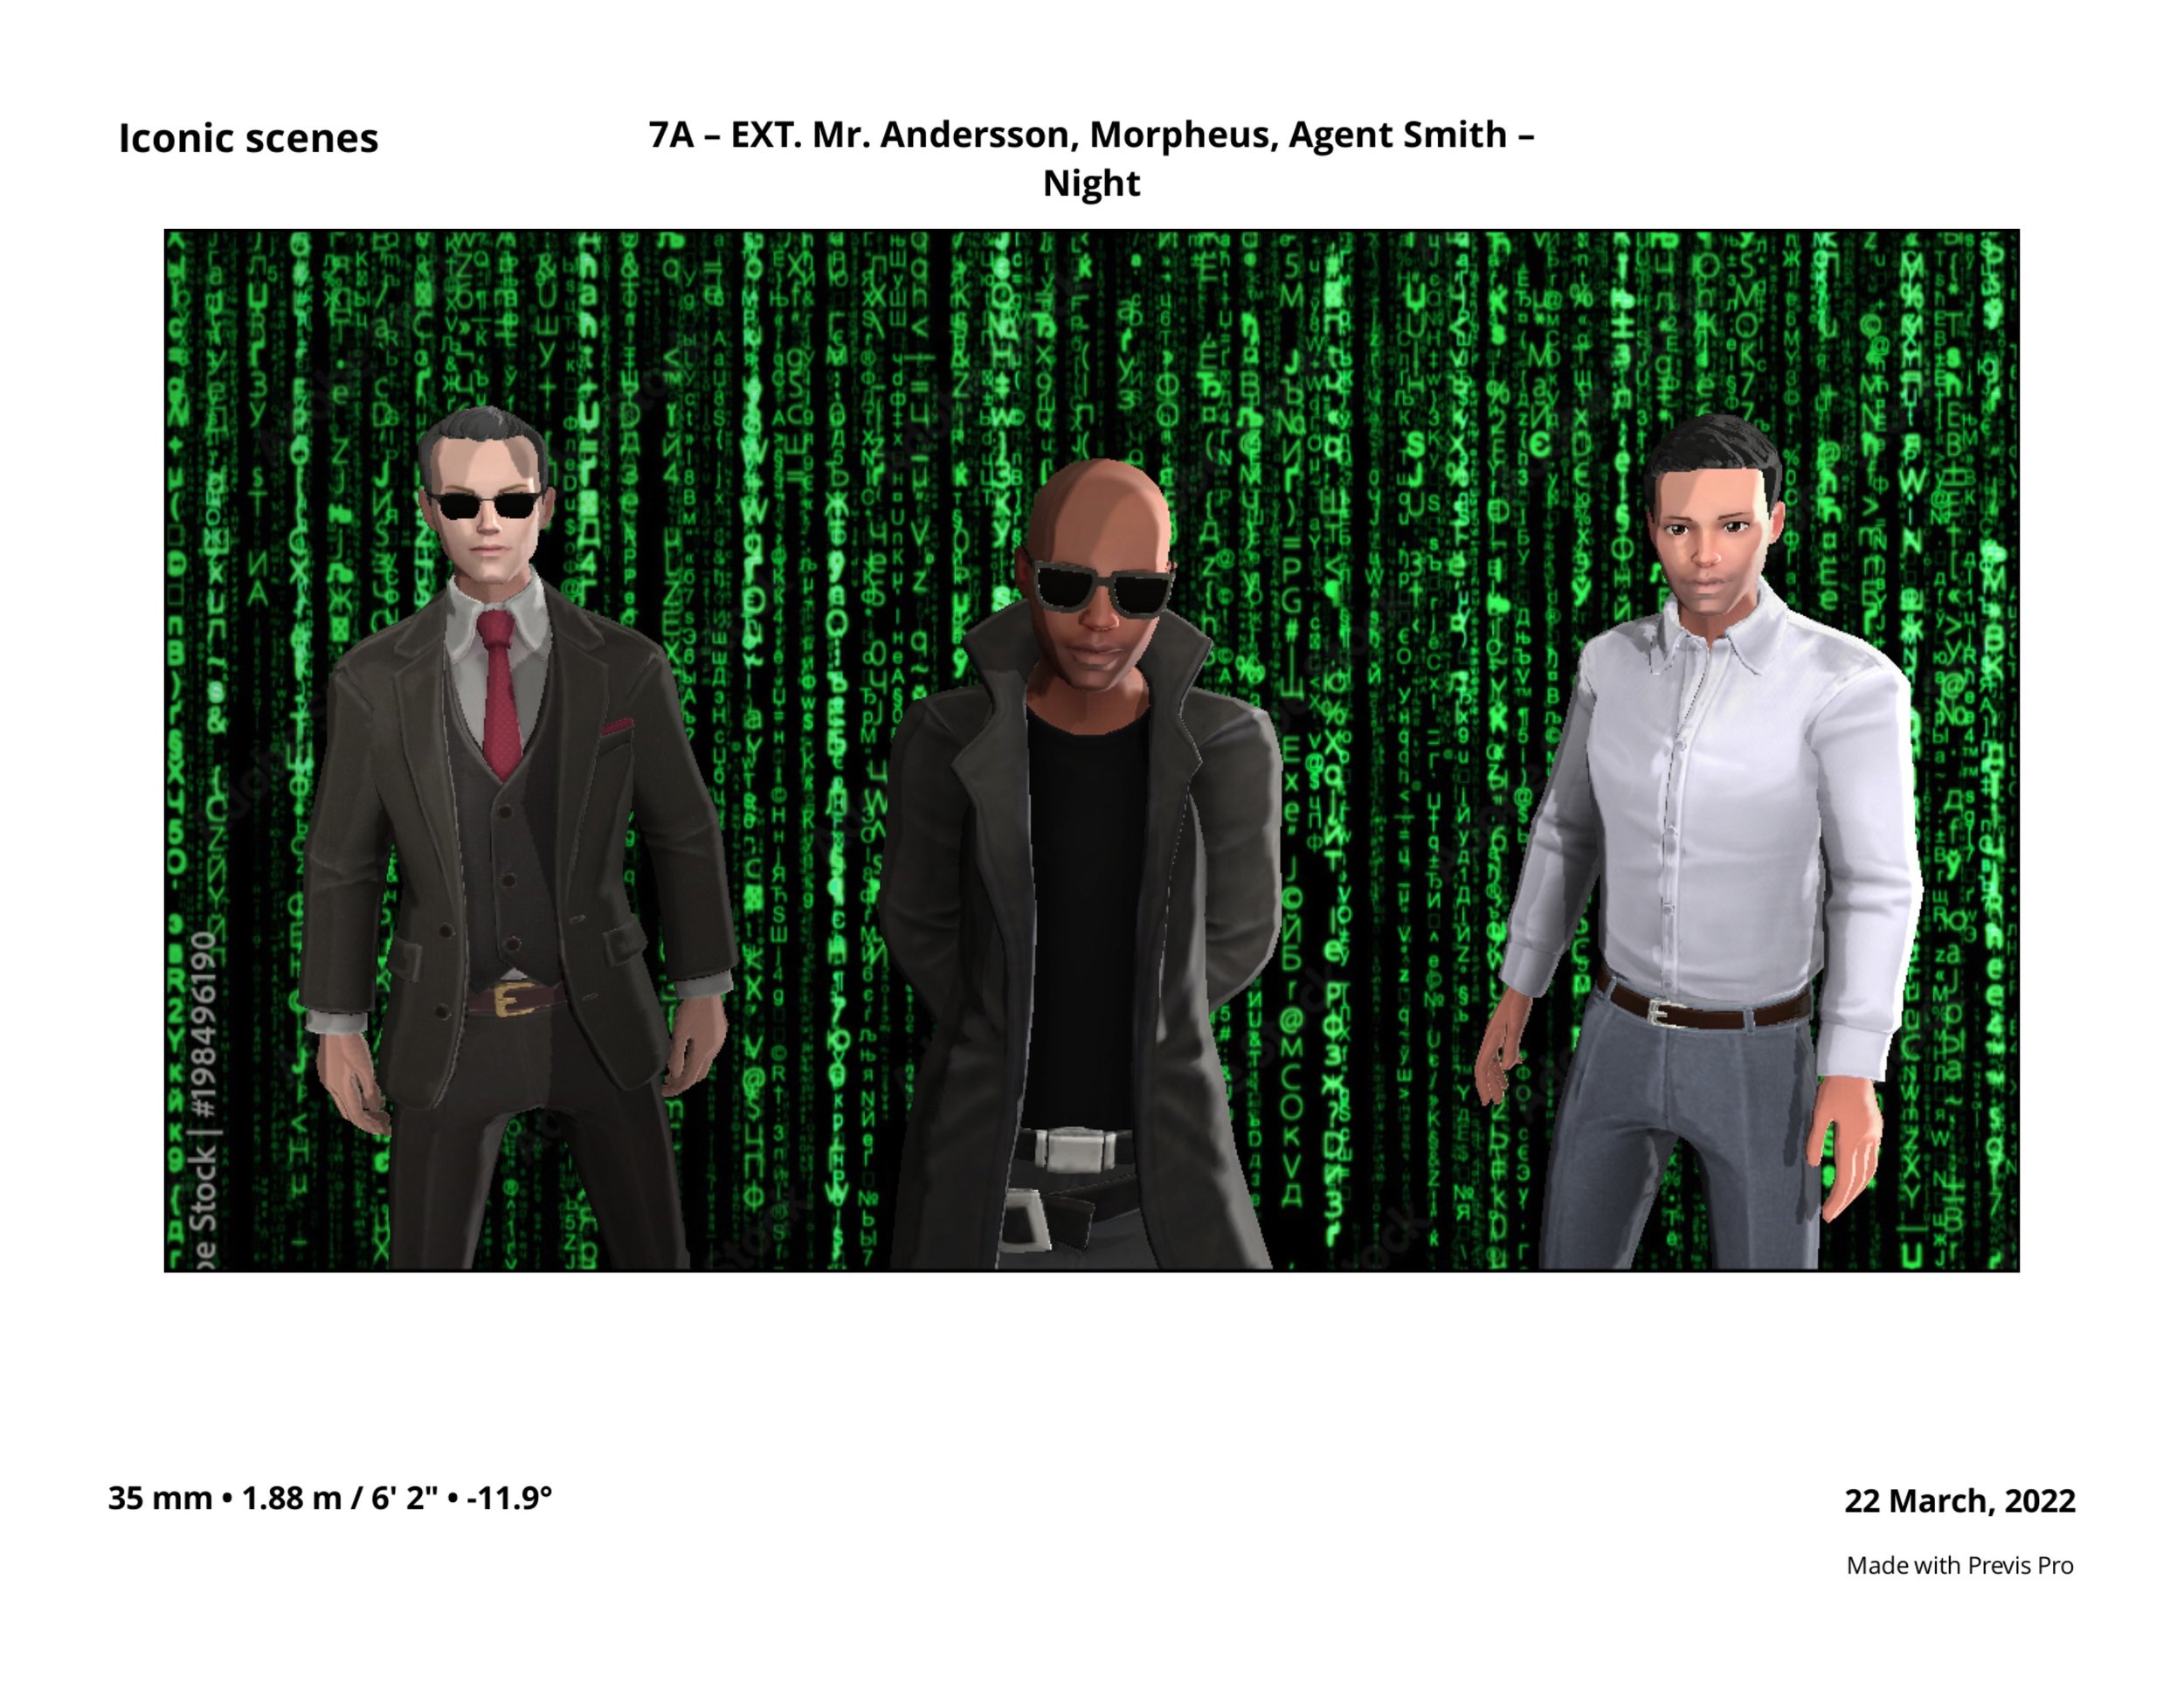
Importing Actors with Reallusion
- For more control and flexibility Previs Pro supports the popular Reallusion character creator system. They offer an “ActorCore” store for purchasing pre-made quality actors in costume. For the technically adept or with a previs budget to hire a 3D artist, actors made in their Character Creator software give you total control of the look and clothes of your cast in Previs Pro. If you’re thinking of going the Character Creator route we can recommend this artist, who can make a custom character compatible with Previs Pro for a very reasonable price.
- For the even more technical, Previs Pro supports rigs from a select set of other sources such as Mixamo. If you’re not completely lost at this point and want to move forward with a model from somewhere else, drop us an email and we can talk blend shapes and minimizing texture sizes, etc!
Note: We recommend a minimum of 4GB device to use imported actors. Check your device specs, or see here.
Reallusion Custom Actor Details
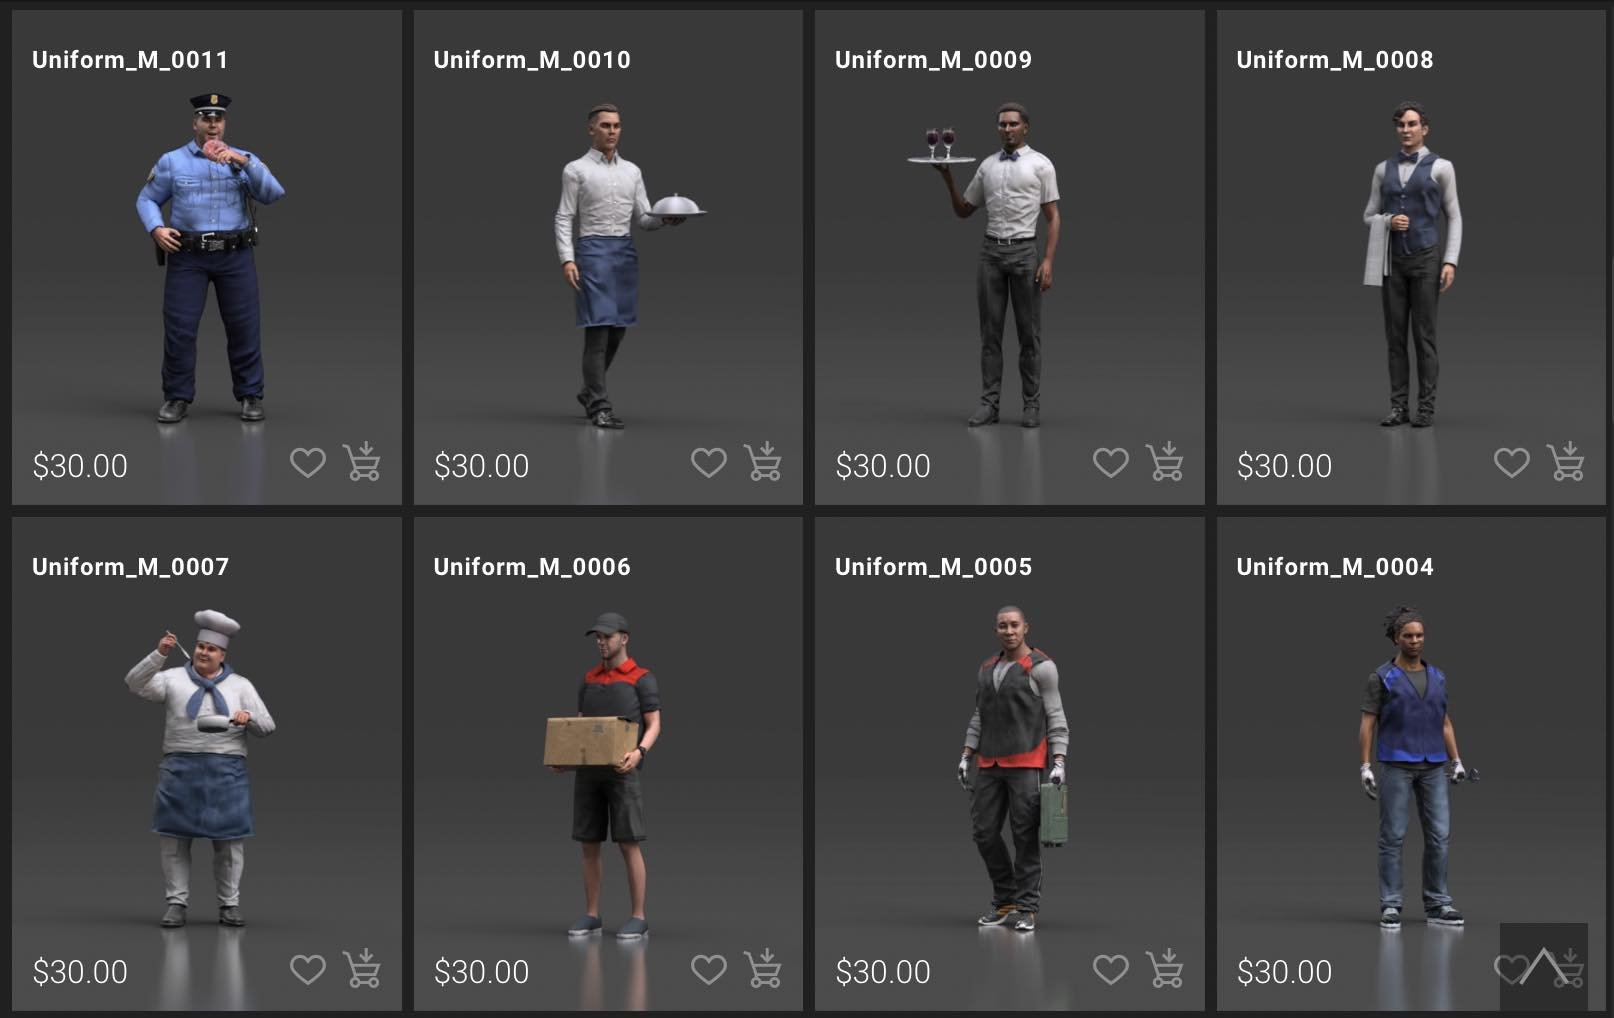
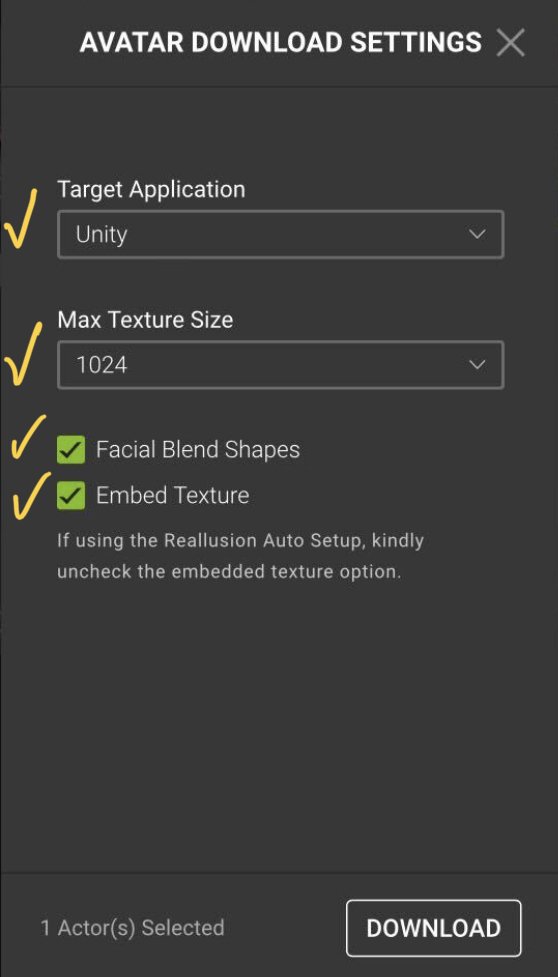
When buying or creating an actor from Reallusion, either via their ActorCore store, or making a custom one using their Character Creator software, you should export the actor, or Avatar, using the following setting.
- Target Application: Unity
- Max Texture Size: Smaller the better! (2048 max, but start low. It’s a storyboard, not final VFX!)
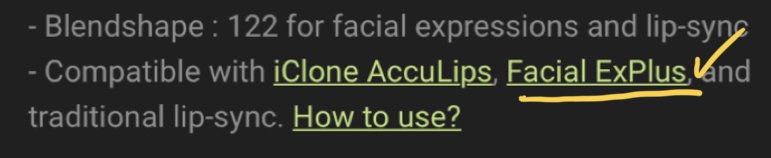
- Turn “Facial Blend Shapes” ON. You will only be able to use facial expressions if the specific Avatar supports “Facial ExPlus”, which you can see in the info panel before you download/buy it.
- Turn “Embed Textures” ON.
Since Reallusion is a 3rd party product and store we can’t guarantee compatibility of any specific model, or provide technical support for their software. They offer some free Avatars, so go slow and make sure you know what you’re doing before spending money! And if you’re thinking of using Character Creator, please drop us a line, we’d like to make sure your experience is great.

Important Notes:
3D Rigged Characters are complicated things. We’ll try our hardest to make it look easy!
For our initial release, imported actors do not support: PoseCap, FaceCap. We have plans to add these in the future. For posing here is a work around: Create a custom pose for one of our built in characters. Once the pose is created you should be able to select it for your imported characters via the “Custom pose” tab when selecting poses!
Try to use Imported actors only where necessary. Use the built in actors when possible. Using lots of them, and changing skin/clothes colors takes no additional resources. Each new imported actor can take 10mb-50mb directly out of the app. Add 10 imported actors and you’re dedicating half a gig of memory just to them. (Also, get yourself a new iPad Pro, you deserve it!)
Feedback is very welcome, it will help us know what you’re trying to do and how to make your life better, faster, and simpler. Drop us a Line.